Categories
Extras recipes

Red Velvet Heart Shape Cake

Since Valentine’s Day is right around the corner, I decided to make a red velvet heart shape cake. Walmart has an array of Valentine’s Day baking goods for sale lately, including the Bundt cake pan I got. While I didn’t necessarily need a new pan, I really enjoy cooking and trying out new things. In addition, my family appreciates it too.

This was the first time I’ve made a Bundt cake in a long time. Even though I have other Bundt pans, I just haven’t used them in a while. Although I intended on it. But I would forget I had the pans and use another. Or make a different kind of cake. However, when I saw the heart shape pan, I just had to have it. And I didn’t put off using it.

Duncan Hines red velvet cake mix with heart shape Bundt cake pan and measuring spoons

So you might be wondering if you can even use a Bundt pan for a regular red velvet cake. Or any other type of cake for that matter. And the answer is yes. Though, make sure you have the right amount of batter for the size pan.

How to Figure out the Batter

In another post, I shared a link to Wilton’s blog, where there’s a chart for how much batter to add to various cake pan sizes. Additionally it gives cooking times. So with most cake pans, measure the pan’s length and depth. But this cake is a Bundt cake. And not just any Bundt cake, a heart shape Bundt cake.

So if you don’t know this, find out the size of your Bundt pan by measuring how much water it holds. Although, don’t fill any cake pan to the top, because it will overflow! For this recipe, it’s a Wilton Bundt pan, and it holds approximately 4 cups of water.

The general rule for filling Bundt cakes is to leave ~ 1 inch of clearance from the top of the batter to the top of the pan. However, that’s based on the size of the pan. And it’s recommended to only fill small Bundt pans, < 10 inches in length, half full. With that being said, I filled my heart shape pan 2/3 full, like I do with my muffins and cupcakes, and it didn’t overflow.

unfrosted red velvet heart shape cake

Red Velvet Heart Shape Cake Ingredients:

  • 1 Duncan Hines Perfectly Moist Red Velvet Cake mix
  • 1 c buttermilk or *buttermilk substitute*
  • 3 eggs
  • 1/2 c melted butter
  • 1 egg yolk
  • 3.4 oz package of instant chocolate pudding
  • 1/2 tsp vanilla extract
  • 3/4 tsp apple cider vinegar
  • and a handful of lightly floured semi-sweet chocolate chips
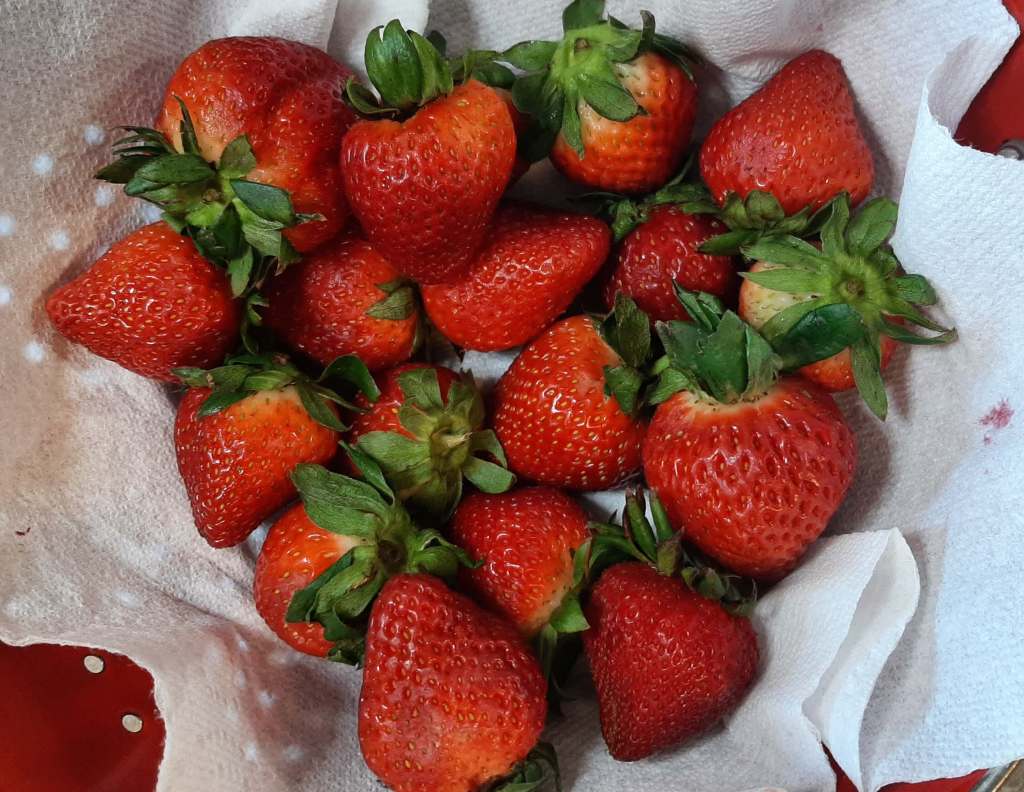
  • a few fresh strawberries, de-stemmed and washed

*If, like me, you don’t have buttermilk when you want to make red velvet cake, then here’s a very simple buttermilk substitute. Add 1 tbsp of distilled vinegar to 1 cup of milk; let it sit for 10 minutes to thicken.

pink frosting in a bowl with beaters

Red Velvet Heart Cake Instructions:

  • Heat oven to 350 degrees. And very generously spray your heart shape Bundt pan with non-stick cooking spray.
  • Mix the first 8 ingredients on low speed until moistened. Then beat on medium speed for ~ 2 minutes.
  • Next, pour ~ 3 full measuring cups into your prepared Bundt pan. And bake on the center rack in the middle of the oven for 35-40 minutes, or until toothpick inserted in the center comes out clean.
  • Cool cake in the pan on a wire rack for no more than 15 minutes. Then invert cake onto a plate or serving platter, and allow to cool completely before frosting.
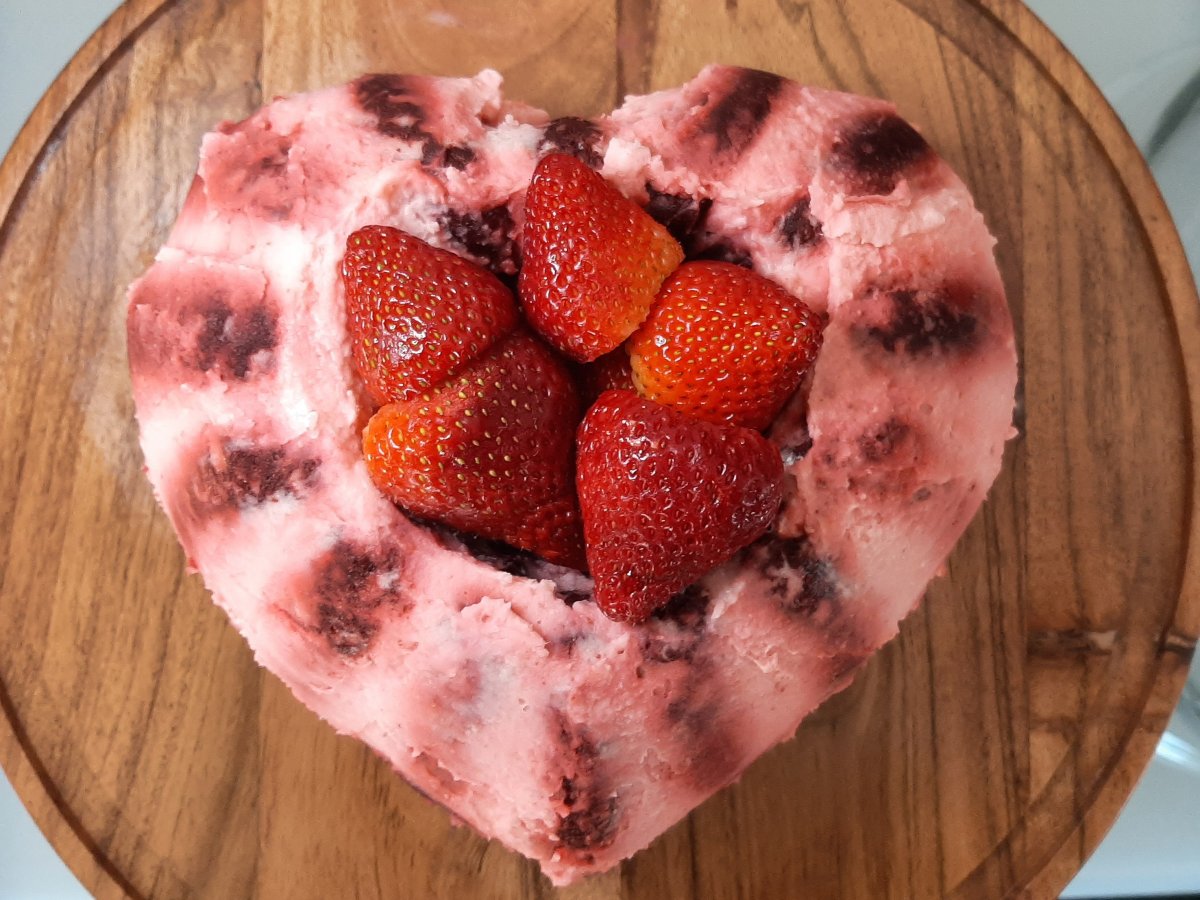
  • Frost with your favorite pink Buttercream or whipped cream frosting. I made a whipped cream frosting and added a few drops of red food coloring to it. Then I filled the hole with the fresh strawberries.
red velvet cake and 3 fresh strawberries on a white plate

Thanks for stopping by! If you enjoyed this, please like, share, and please don’t forget to follow!

Advertisement
Categories
Extras recipes

How to Decorate Chocolate Covered Strawberries

Since Valentine’s Day is coming up, it’s typical to see chocolate covered strawberries in grocery and on online stores. However ordering, or buying pre-made, doesn’t make much economic sense when you only get 6-12 strawberries for a whopping $30-40. In addition, 2 lbs of fresh strawberries costs less than $8, and the other ingredients are simple to get. Thus, it’s just as easy to make your own. So I’m going to show you how to decorate chocolate covered strawberries instead.

fresh strawberries

Chocolate covered strawberries are great to eat any season. And there are a lot of benefits to eating them, such as their fiber content. Also, eating strawberries can lower the bad cholesterol in our bodies. Additionally, eating them could even prevent cancer cell growth.

Then there’s the chocolate combined with the strawberries. And there are different textures involved too. Sometimes it doesn’t work. But sometimes it does. And chocolate and strawberries are definitely meant to be together.

Ingredients for Decorating Chocolate Covered Strawberries

metal muffin tin filled with a variety of toppings
  • 1 lb strawberries; Driscoll’s have the best
  • 10 oz semi-sweet chocolate chips
  • 6 oz white or vanilla melting wafers
  • 1/4 c each of toppings, such as: sprinkles, decorating sugar, coconut, chopped nuts, and/or chocolate curls

Instructions for Chocolate Covered Strawberries

  • First, line a jellyroll pan with wax paper
  • Next, wash the strawberries; and carefully pat each one dry with a paper towel
  • Put each topping in a separate shallow bowl

Melting Chocolate Chips and Wafers

melted chocolate and melted vanilla in 2 white bowls
  • Place the vanilla wafers in a microwave-safe bowl
  • And microwave on medium power for 30 seconds to a minute, depending on how cold it is in your house; the colder it is, the more cooking time you’ll need
  • Stir the melting wafers
  • Continue this until the wafers start to melt; then drop the cooking time to 30 secs
  • Stir in 1 tsp of olive oil to thin out the vanilla, if it’s a thick mixture
  • Next, melt the chocolate chips in a similar manner to the wafers: on medium power for 30 seconds to a minute; however, do not add any olive oil when you’re done

We’re almost done! My main concern during the last part was the chocolate and vanilla hardening before covering all of the strawberries. So my youngest helped me out, and it made it much easier. Also, I laid everything out like an assembly line. Therefore, if you have pre-teens, have them help. You both will enjoy it. Likewise, set everything up as an assembly line: strawberries, chocolate, toppings, and finally, the jellyroll pan.

How to Decorate Chocolate Covered Strawberries

3 decorated chocolate covered strawberries on a white plate
  • Take one strawberry by the leaves and dip it into the melted chocolate or vanilla.
  • Swirl until evenly coated.
  • Then dip chocolate coated strawberry into the topping of your choice.
  • Next, place decorated, chocolate covered strawberry onto jellyroll pan.
  • And repeat until all of the strawberries are decorated.
  • Chill in the refrigerator for 15-30 minutes or until chocolate is set.
  • Ideally, these are best served the day you make them and at room temperature. They can be made a day ahead, however condensation will form, which isn’t good. Read this for tips on how to store chocolate covered strawberries in the refrigerator.

I hope you guys have a great Valentine’s Day! And thanks for stopping by! If you enjoyed this post, please like, post a comment, share, and don’t forget to follow!