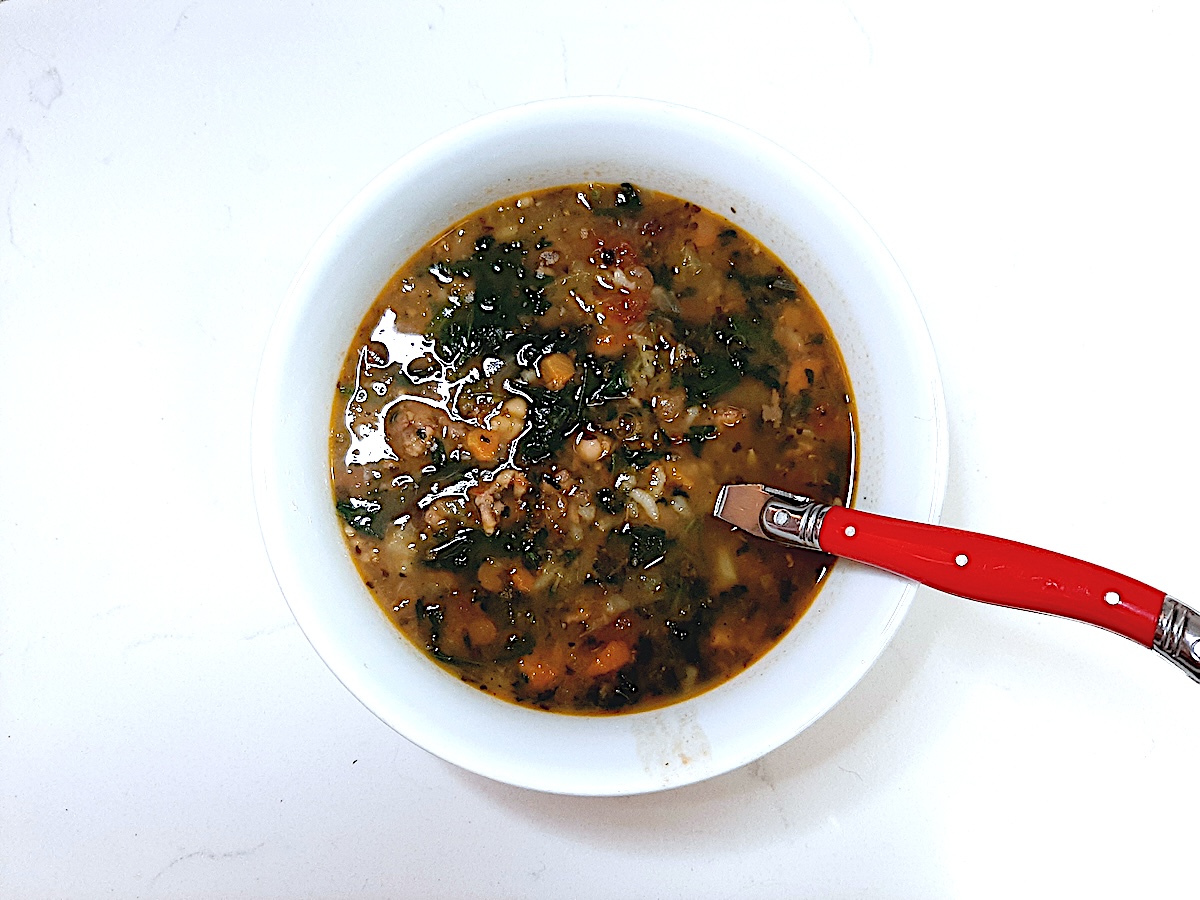
On cold winter days nothing says comfort quite like hearty soups. And they’re typically easy to make. Start with a base of chicken or vegetable stock, add vegetables, a grain, and seasonings. Plus, whether or not you add meat is totally up to you. Moreover, you don’t have to follow recipes exactly. Ultimately they’re up to your imagination. For instance, this 15 bean soup with sausage recipe is traditionally made with ham and bay leaves. Since I didn’t have any ham, I used Italian sausage that I did have. And I leaned toward more Italian spices as well. It was delicious. Furthermore, I made this in my electric pressure cooker. But it can easily convert to the stove, if you prefer. I hope you enjoy.
Ingredients for 15 Bean Soup with Sausage Recipe
- 3 tbsp olive oil
- 1 1/2 lbs 15 bean soup, any brand (rinsed and soaked)
- 1 lb Italian sausage
- 2 carrots, peeled and chopped
- 3 celery stalks, chopped
- 1 medium red onion, chopped
- 1 tbsp fresh minced garlic
- 6 c vegetable broth
- 4 1/2 c water
- salt and pepper to taste
- 2 tbsp each dried basil and oregano
- 1 can diced tomatoes with juice
- 12 oz frozen spinach
- and 1 1/2 c – 2 c cooked rice
15 Bean Soup with Sausage Ingredients
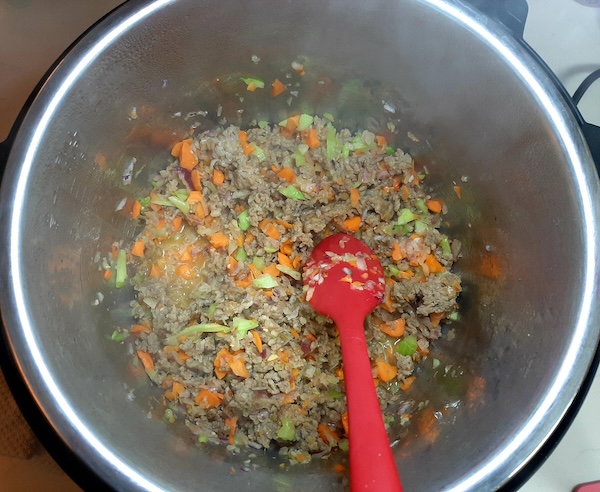
- First, add olive oil to Instant Pot and press sauté; add sausage and sauté till almost brown, stirring.
- Next, stir in carrot, celery, onion, garlic, and sauté till vegetables are soft, about 5 minutes more.
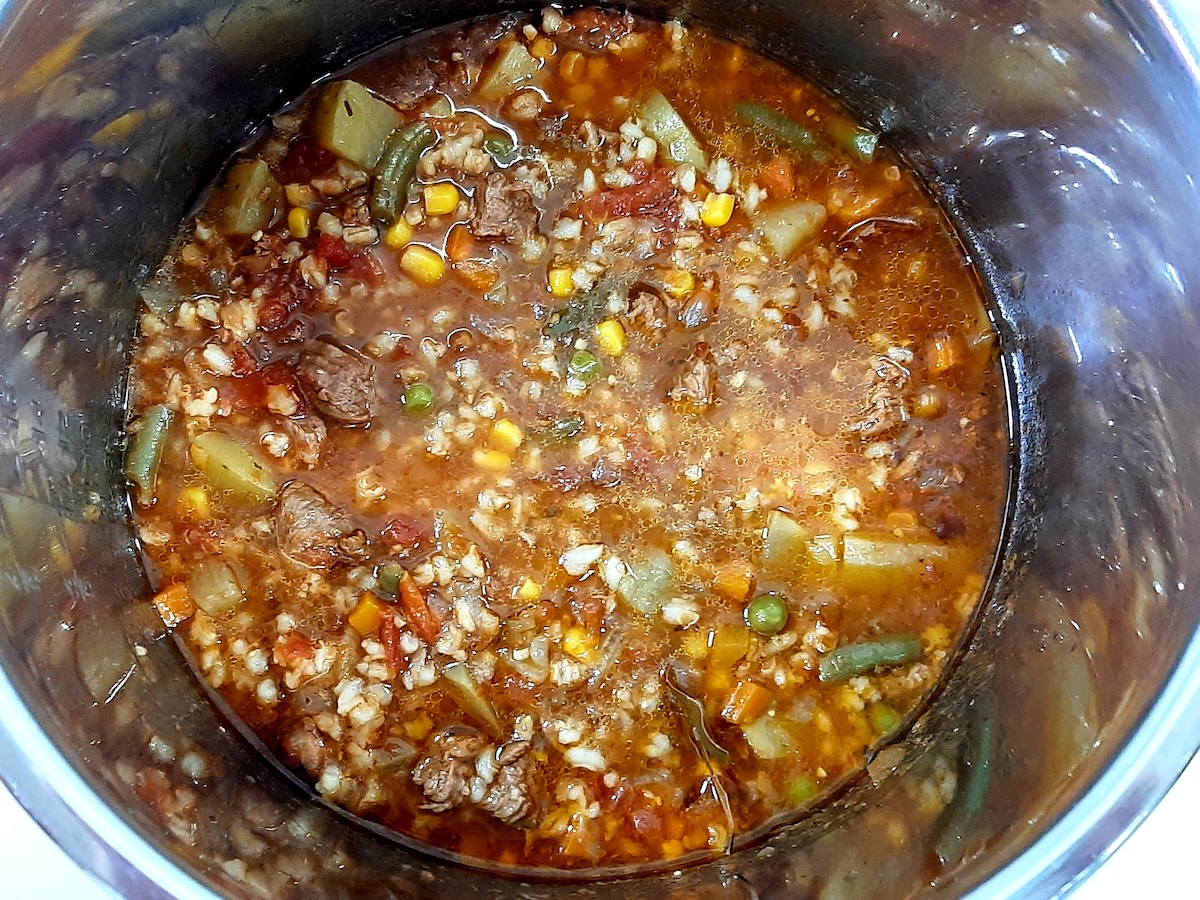
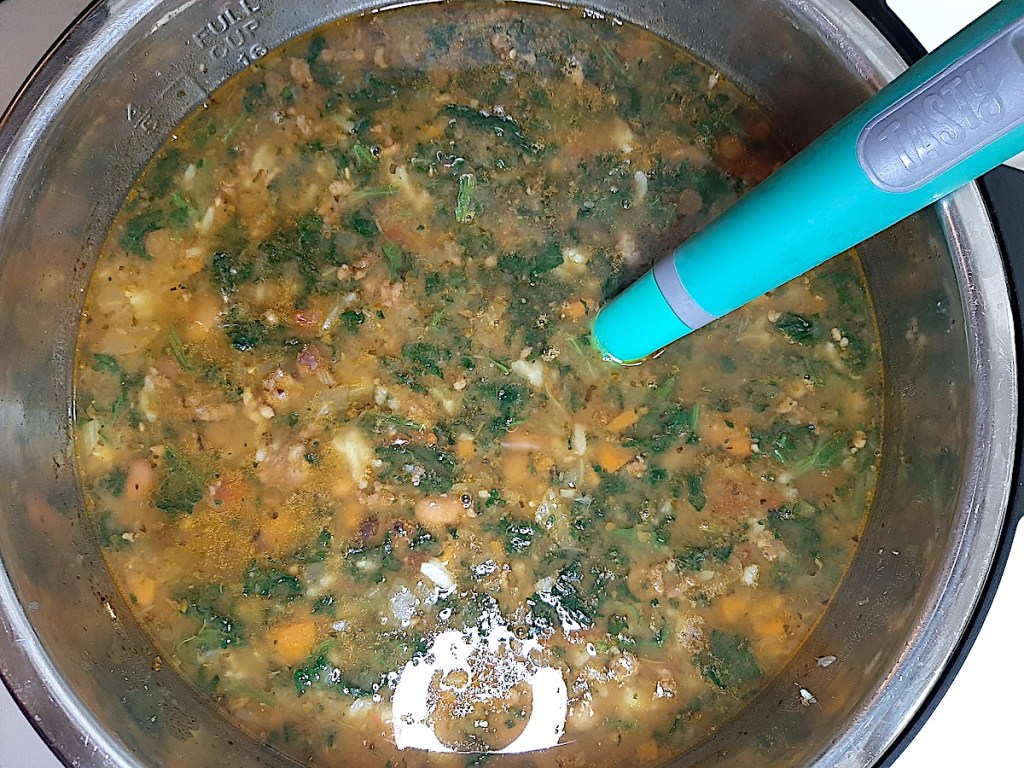
- Then stir in beans, broth, water, seasonings, and diced tomatoes. Lock lid in place and press Manual or Pressure Cook button. Select High and cook for 1 hour.
- When time is finished, let steam pressure release normally. While it’s releasing, cook spinach according to directions on package. And then unlock and remove lid on Instant Pot. Add spinach and cooked rice to Instant Pot, stirring till well combined.
- Finally, serve and eat immediately.
What did you think of this recipe? Do you have a favorite winter soup recipe?
Thank you for reading this post. Please like, share, and if you don’t already follow me, you can do so now.