It’s almost Spring: The grass is getting greener, the weather is turning warmer. And it’s time for growing things and new life, such as new chicks. Generally speaking, you can incubate chicks any time. But most chickens, including Jungle Fowl, breed and then rear their young in spring or summer. So I’m going to go through, step-by-step, on how to incubate chicken eggs.
If you’re wanting to incubate chicken eggs, the first thing you need is an incubator. Before even getting the eggs, you have to have somewhere to deposit them. And there are different options for various budgets and sizes of flocks. However, try to get one from a reputable dealer.
Incubators: How to Incubate Chicken Eggs
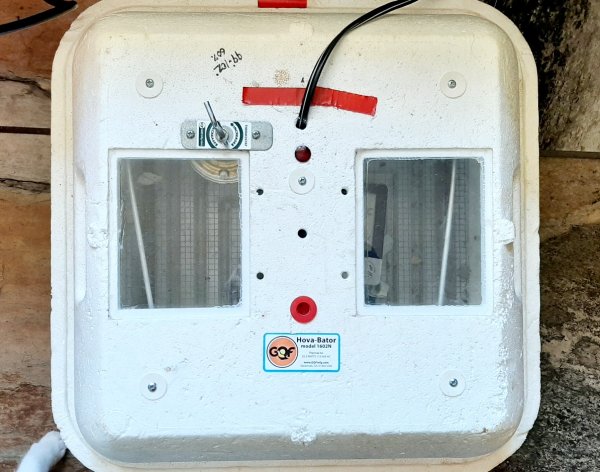
Incubating chicken eggs takes 21 days. The less expensive incubators are made out of Styrofoam. But some of them aren’t as stable at holding temperature as other kinds, especially if you keep it in a cooler room or one that’s drafty. The first one we got 7 years ago was an inexpensive Hovabator. It worked fine until this season. So we bought a new, forced air incubator with an automatic turner and thermostat.
In addition, there are cabinet style incubators in case you want to hatch hundreds of chicks. Or you can make your own if you enjoy working with your hands.
How Incubators Work

Both temperature and humidity are important for chick development. If the temperature is a little bit low, the chicks will take longer to develop. But if it’s too low, they won’t make it to hatch. Likewise, if the temperature is a little bit high, the chicks will develop faster. However, if the temperature is either too high or just a little high but not enough for the chicks to develop fully, the chicks will end up dying. Also, if there is too much fluctuation in the temperature, or lack of stability, this can cause the chicks to stop developing, and they will not hatch.
Further, for the first 18 days of incubation, the humidity needs to be around 45-55%. But the last 3 days it needs to be raised to 60-65%. If humidity is too low, the chicks will be too weak to hatch. But if humidity is too high, it can similarly affect the chicks. The chicks may not be able to easily move around their eggs or get enough air. And can likewise die.
Temperature: How to Incubate Chicken Eggs

Now before you start hatching chicks, you need to make sure the temperature is correct by calibrating it. This is before you add the eggs. However you need a separate thermometer in order to do this. It’s recommended to have an aquarium thermometer with a probe on it. Although, since Covid, it might be difficult to find.
But if you find one, then fill a glass with ice. Next, add tap water until it’s full; and stir. Wait about 30 secs and then put your thermometer in the glass to check the temperature. And if it reads 32°, it’s correct. But if it’s off, then you’ll have to make mathematical adjustments. Hopefully it won’t be off by much. Therefore, the temperature for a forced air incubator with a fan needs to be 99-100°. And for a still air incubator, the temperature needs to be 100-101°.
Humidity: How to Incubate Chicken Eggs
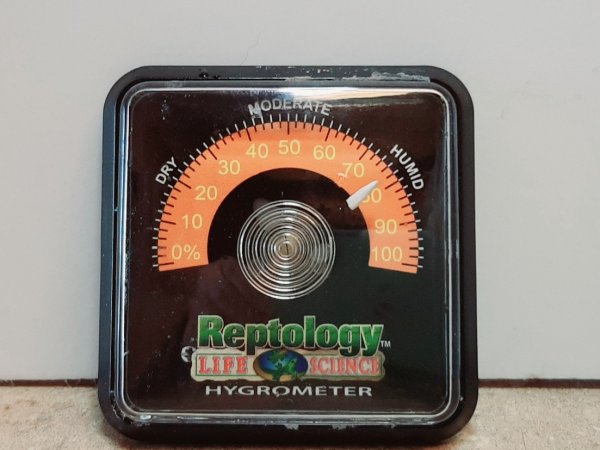
You also need to calibrate the hygrometer. Again before adding any eggs. You can get a hygrometer at any pet store. Then put a teaspoon of salt in a bottle cap or a small cup. Next, add a few drops of water to moisten it. And enclose that inside a see-through, sealable container, like a ziplock bag, and let it sit for ~ 6 hours. Then check the reading. If it says 75% humidity, it’s correct; if not, you just calculate what the humidity is based on how much it’s off.
Adjusting Humidity

Most incubators provide areas to add water. However, keep in mind that if you have a manual thermometer and thermostat, when you add water for humidity, it will lower the temperature. This happened with our first Hovabator. So we would usually just add damp paper towels; the humidity and temperature would stay ideal that way.
Set Up Your Incubator: How to Incubate Chicken Eggs
Now that we’ve covered some basics, it’s time to set up the incubator. Then let it run ~ 24 hours before adding any eggs. Whether it’s new or you’ve used it before, this time period will let you know if it’s running properly. Don’t forget to add your calibrated thermometer and hygrometer to make sure the temperature is correct!
If you are using shipped eggs or refrigerated eggs, make sure they settle ~ 24 hours at room temperature before putting them in the incubator. Adding cold eggs to a warm environment will crack them. And the embryos will not develop.
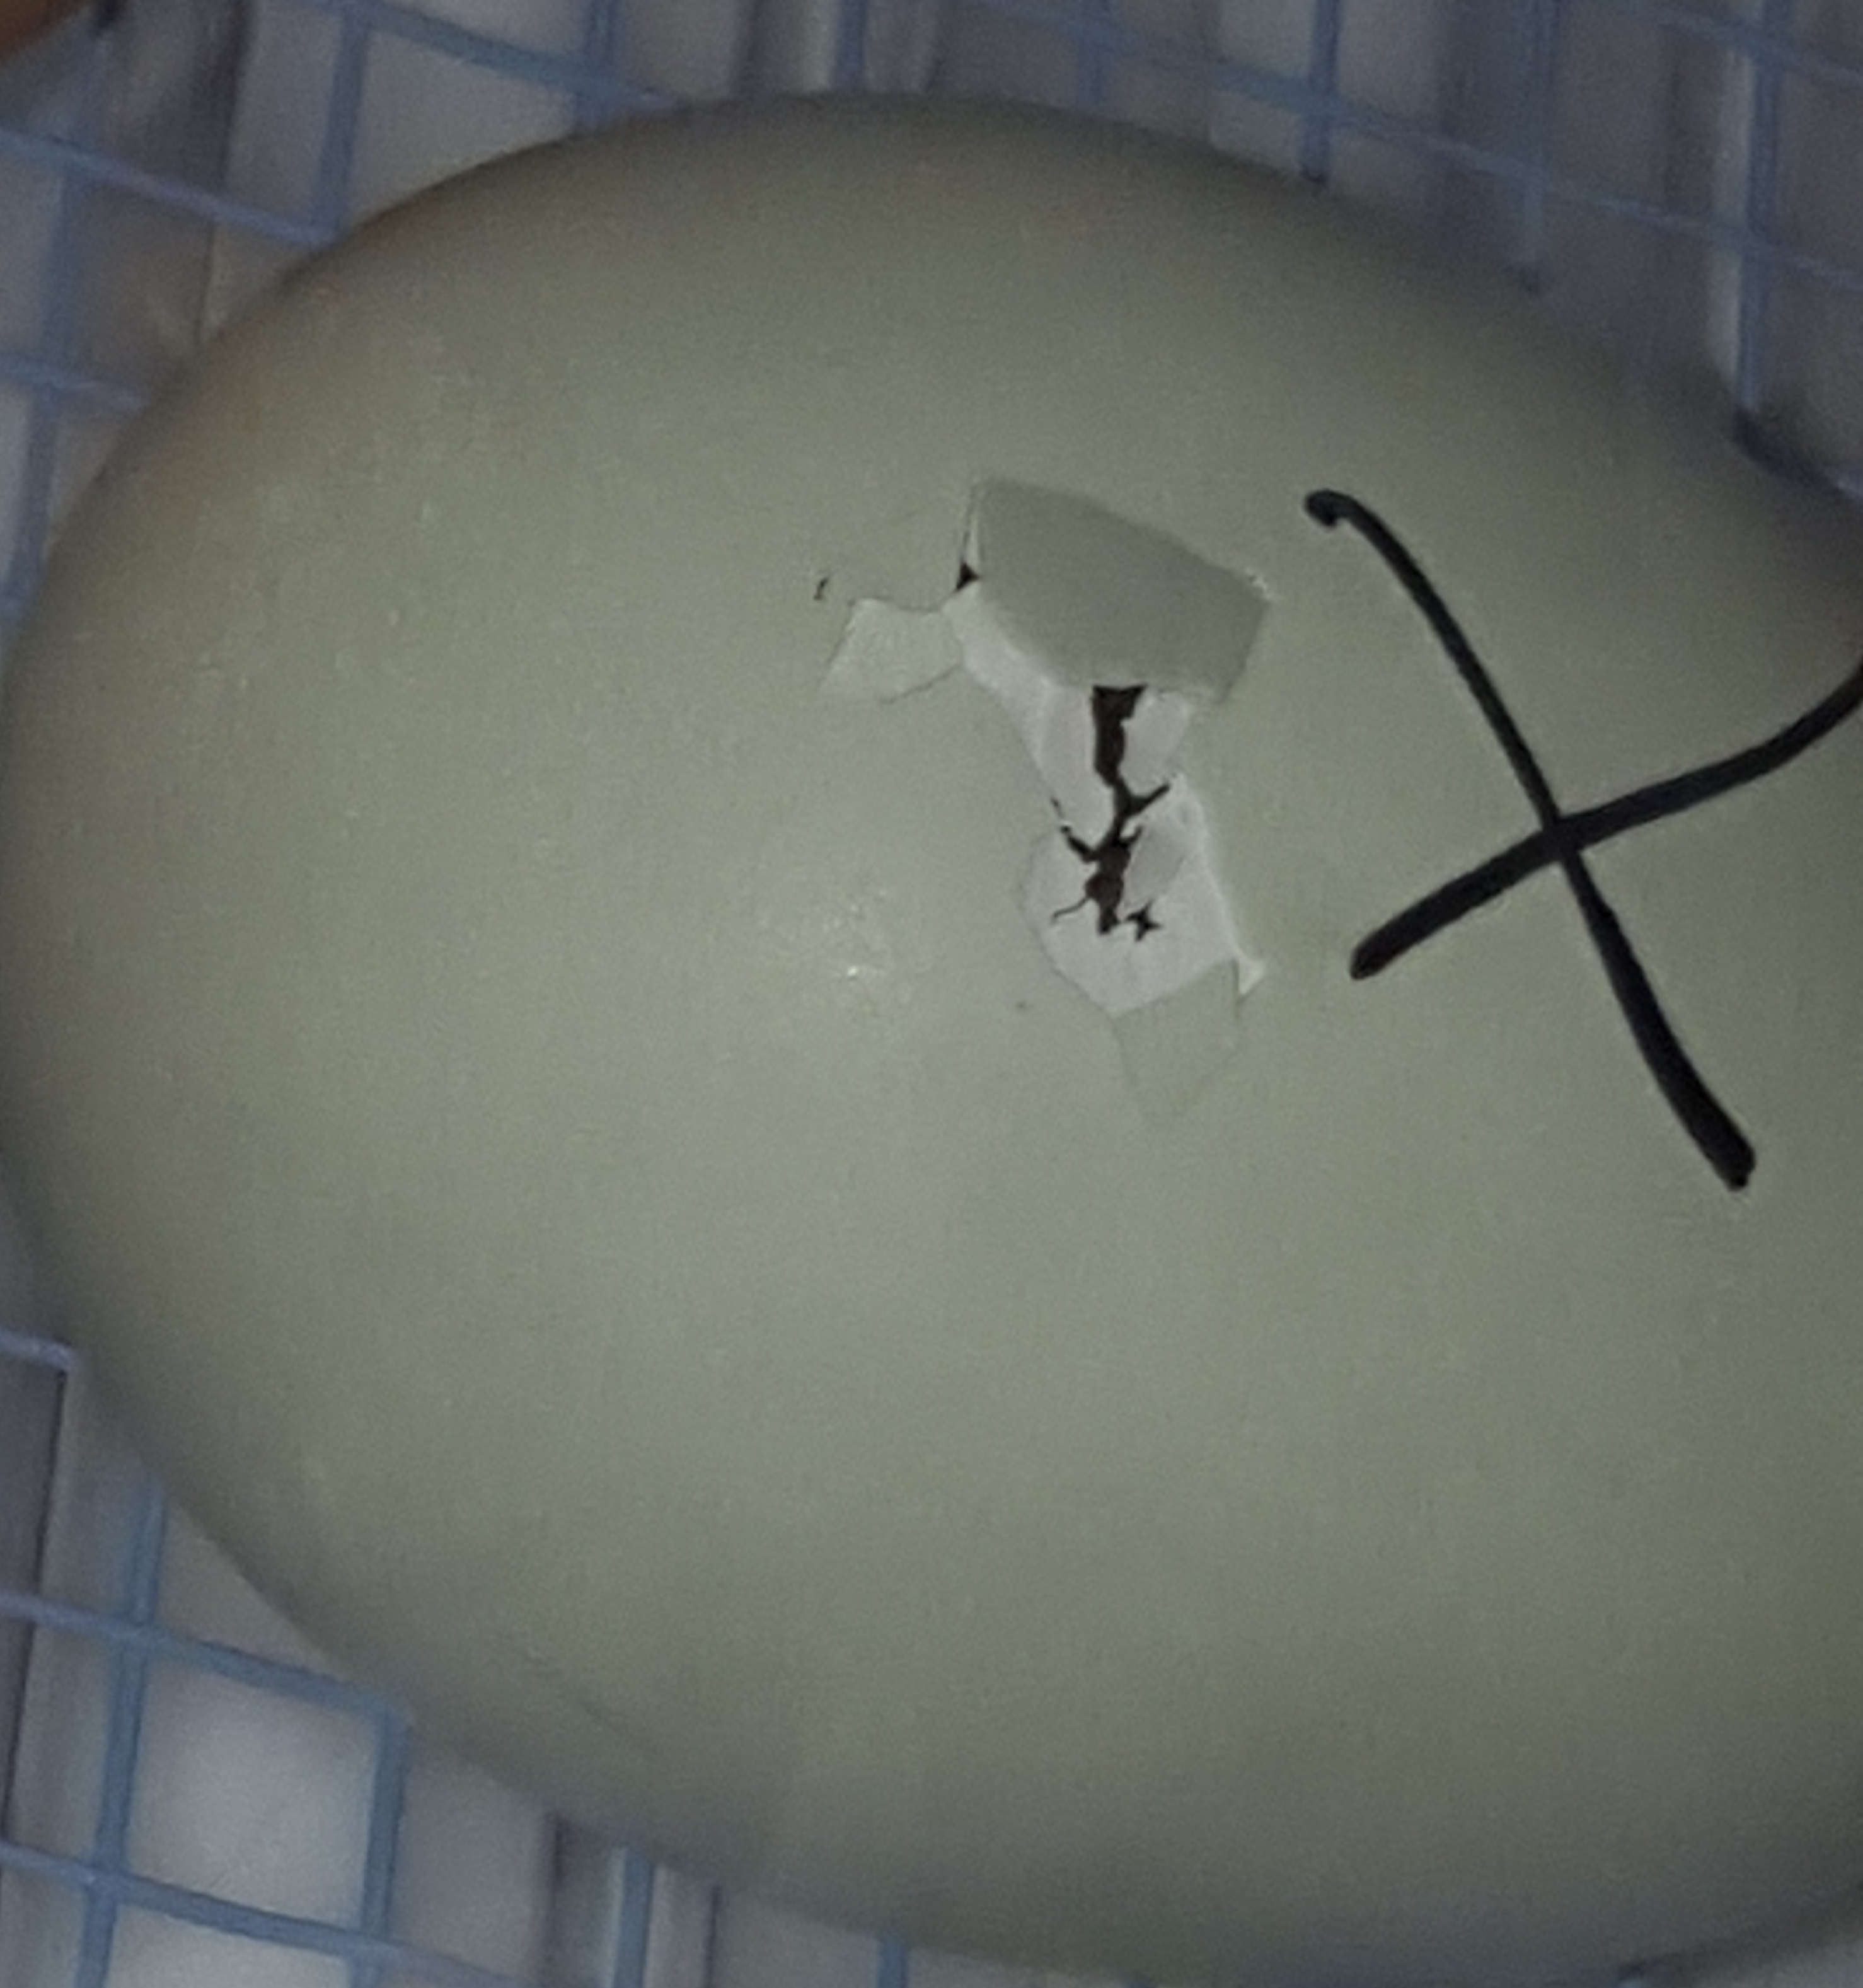
Also, if you have an incubator with an automatic turner, just be sure to put the eggs in the way the instructions advise. This is intended to to keep the yolk and air sac intact, which will improve hatch-rate. However, if you don’t have an automatic turner, you need to rotate the eggs at least three times daily; more, if you can. Use a Sharpie pen to mark an ‘X’ on the eggs, or something similar, to help you know whether the eggs have been turned the proper number of times.
Candling the Eggs

After about a week you can candle your eggs and see whether they’re fertilized. Other than when the eggs actually hatch, this is the most egg-citing part of incubating chicken eggs. Although some eggshells are more difficult than others until later on. Maran and ‘Cauna eggs can be very difficult to see anything after only a week.
To candle an egg, it’s best to use a small diameter, very bright flashlight. Next, go to a dark room and place the egg over the light. And if the egg is fertilized, you should see a red blob in the center with veins going out from it. But if you have either a Maran, blue, or green egg, you likely won’t be able to tell at this stage.
From this point on, you can candle the eggs weekly to check on development if you want. As the embryo develops, you will notice it taking up more space in the egg. And if you have one of those thicker or darker shells, you will definitely start seeing something. By day 16, the embryo takes up a lot more of the egg, and is in hatching position.
However, candling can also show if development stops. There can be different stages that development stops, or even more heartbreaking, they make it to hatch day, and fail to hatch. I recommend giving it a few days, but before discarding them, do a float test. Continue reading for instructions.
Lockdown

This typically refers to the last three days before hatch day. Lockdown is when you want to increase the humidity. And if you have an automatic turner, remove those. If not, then stop rotating the eggs now. Then position the eggs on their sides with the air cell at the top. That’s where the chicks will pip.
You may have read or heard that you should never open the incubator at this point, that your chicks would be ‘shrink-wrapped’ and die. No, you don’t want to open the incubator and leave it open for long periods of time. Although, if you need to add water for humidity or to transfer a chick to the brooder, you shouldn’t have the incubator open for long. And as long as you make sure the temperature and humidity get back up to where they need to be quickly, your chicks should be fine.
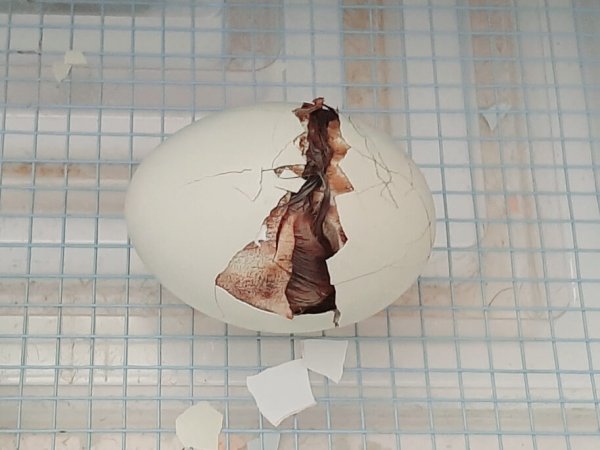
Then you just wait. You might get some early hatchers or some late ones. This happens if the temperature was off, but all in all, they should hatch pretty much within a day of each other. They’ll start pipping. And then they’ll unzip their shells, which means they work around the shells in a circle in order to get out. And they can go ~ two days without food and water, because of the nutrients from their yolks. You should wait until they’re completely fluffed out before moving them to the brooder.
Some Late or No Hatchers
If you’ve got some late or no hatchers, I would give it extra time. Like 5 extra days at least. Then smell the eggs. And if they pass the sniffer test, then do the float test. It’s kinda similar to the one designed to test bad eggs. However, in this test,
- Make sure the water is 100° and still before adding the egg you want to test.
- Next, be positive the egg you’re testing is past its due date and free of pips and cracks. Otherwise, you can drown the chick.
- Then add the egg, making sure the water settles before adding another late egg.
- If the egg sinks, it’s a dud and never developed.
- But if it’s a high floater, like a fishing bobber without weights, it could still be a dud, or the chick died.
- However, if it’s a low floater, it developed to full-term. Though, something happened, and the chick didn’t make it to hatch.
- But if it’s a low floater and moving around a lot, the embryo is moving, and the egg is viable. It’s just a late hatcher!
Should You or Shouldn’t You Assist in Hatching?

There are tons of literature out there insisting you shouldn’t help a chick hatch. However, there’s one article I read that succinctly points out why assisting a hatch is beneficial. Although, at the end of the day, it’s for each person to decide for themselves.
And miracles happen everyday. What one person says will be a tragedy, can actually become the boss of the yard. You just never know. For example, Baby Nay, our now re-homed Maran-Ameraucana mix rooster hatched 8 days early.
A couple of years ago his egg got stepped on by either his mother or another broody hen outside; his ‘mother’ was kinda wacky and didn’t do the best job looking after her eggs. So my youngest brought his egg inside. She and my 19 year old thought he was pipping and unzipping and having trouble. But when Hannah helped out and saw him, she knew something was wrong and was scared. When they consulted with me, as I knew the dates, he was 8 days early. Thus they got him under the heat lamp, and then it was a waiting game. Waiting to see whether he would make it.
Well, I got him some electrolytes when I got home and watched while eventually, that first day he finally sat up. Then he cried a lot. So I kept him snuggled with me for 3 days, just in my arms. That’s probably why he knew his name and wasn’t afraid of people. But most of our birds are that way. That bird lived; in fact, he made it to challenge his dad, and almost killed Megatron if I hadn’t intervened.
So if you made it this far and have chicks, congratulations! And if you have any questions, please don’t hesitate to ask.
Thanks for stopping by! If you enjoyed this post, please like, post a comment, share, and please don’t forget to follow!